
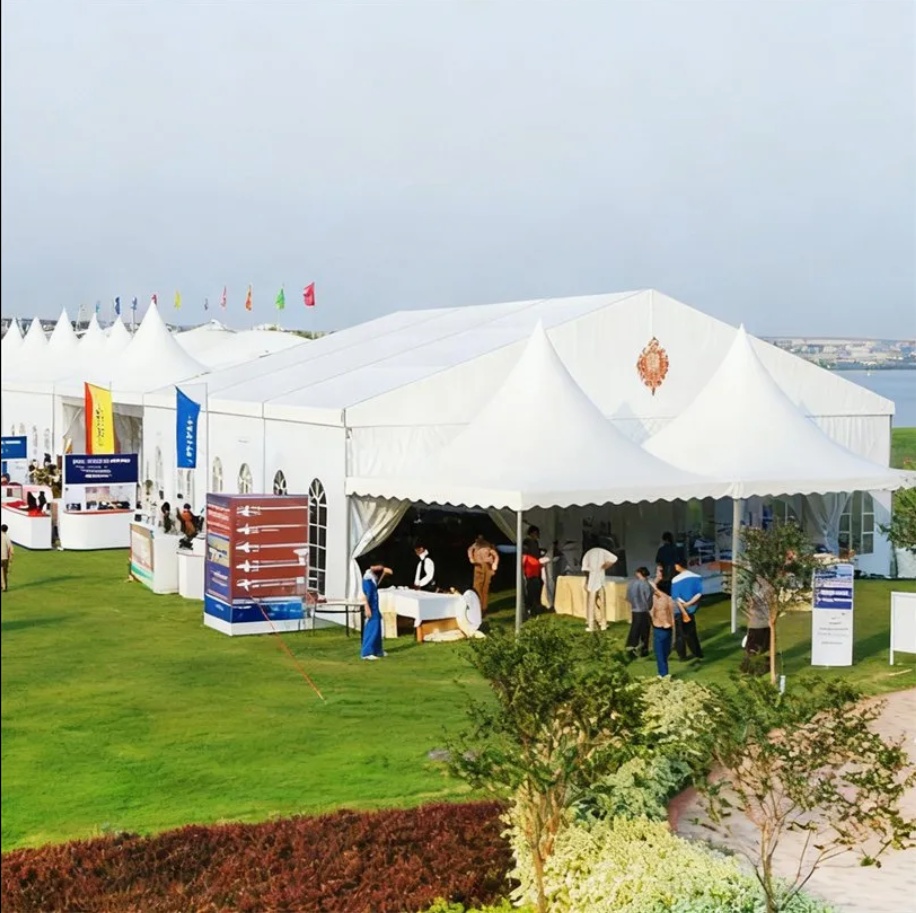

Luxury resorts don’t need more square footage to feel premium — they need better thresholds.
The right small structure at the right moment — arrival, check-in, wayfinding — does what a bigger build often fails to do: it tells guests, instantly, that the place is curated.
That’s where the pagoda tent (also called a high peak tent) earns its keep. Its pointed roof reads “pavilion” more than “party rental,” especially when you treat it as a repeatable design module instead of a one-off cover.
This guide breaks down the “pagoda tent formula” for resort operators evaluating vendors — especially for small-scale modules built on a 65×65mm aluminum frame — and turns it into procurement criteria you can use for entrance canopies, reception pods, and premium market layouts.
What a Pagoda Tent Is — and Why the Roofline Matters in Resort Settings
A pagoda tent is typically a square, clear-span canopy with a pyramid-like high peak. In resort contexts, the roofline isn’t just aesthetics; it functions as a visual beacon.
- Readable from a distance: Place one at a gate, drop-off, or trail junction, and guests intuitively know where to slow down.
- Vertical volume: The peak makes a small footprint feel airy — useful for check-in desks and guest-service touchpoints.
- Drainage-friendly geometry: The pitch supports water runoff instead of pooling.
As a design principle, think of arrival spaces as thresholds — areas that help guests transition from road to resort. A small high-peak canopy can deliver a “pause + reset” moment without committing to permanent construction.
The “Pagoda Tent” Formula: 3 Variables That Make It Look Expensive
There’s no single “luxury tent.” There’s a combination of decisions that signals luxury.
1) Repetition: Modules Beat One Giant Canopy
One high-peak canopy looks like a tent. A rhythm of pagoda tents looks like a destination.
Use repeated modules to create:
- An entrance procession (two to six units in a line)
- A reception courtyard (clustered units with clear circulation lanes)
- A premium vendor village (one unit per vendor “boutique”)
2) Proportion: Small Footprint + Tall Peak
For luxury resorts, the “finishing touch” effect comes from proportion:
- Small footprint = intentional placement
- Tall peak = landmark quality
3) Detailing: What You Do at Eye Level
Most “cheap” cues happen at eye level:
- Harsh lighting or exposed cables
- Wrinkled fabric edges
- Loose sidewalls flapping
- Random signage placement
Most “premium” cues also happen at eye level:
- Warm, integrated lighting
- Crisp wall lines (or intentionally open sides)
- Consistent signage zones
- Clean flooring transitions
Why 65×65mm Frames Are Popular for Small, Aesthetic-First Modules
When buyers say “65×65mm frame,” they’re usually using it as shorthand for a small-module structural class — substantial enough to feel engineered, but not overbuilt for compact footprints.
For resorts, that matters because these modules are often deployed in guest-facing locations where:
- The structure will be photographed
- Staff will interact with it daily
- A “temporary” look can drag down perceived quality
Pro Tip: Ask for the vendor’s recommended module size and matching frame profile as a pair. If they treat frame size as a universal answer, you’re likely not getting a site-specific recommendation.
Best-Use Placements: Where Pagoda Tents Act Like “Design Punctuation”
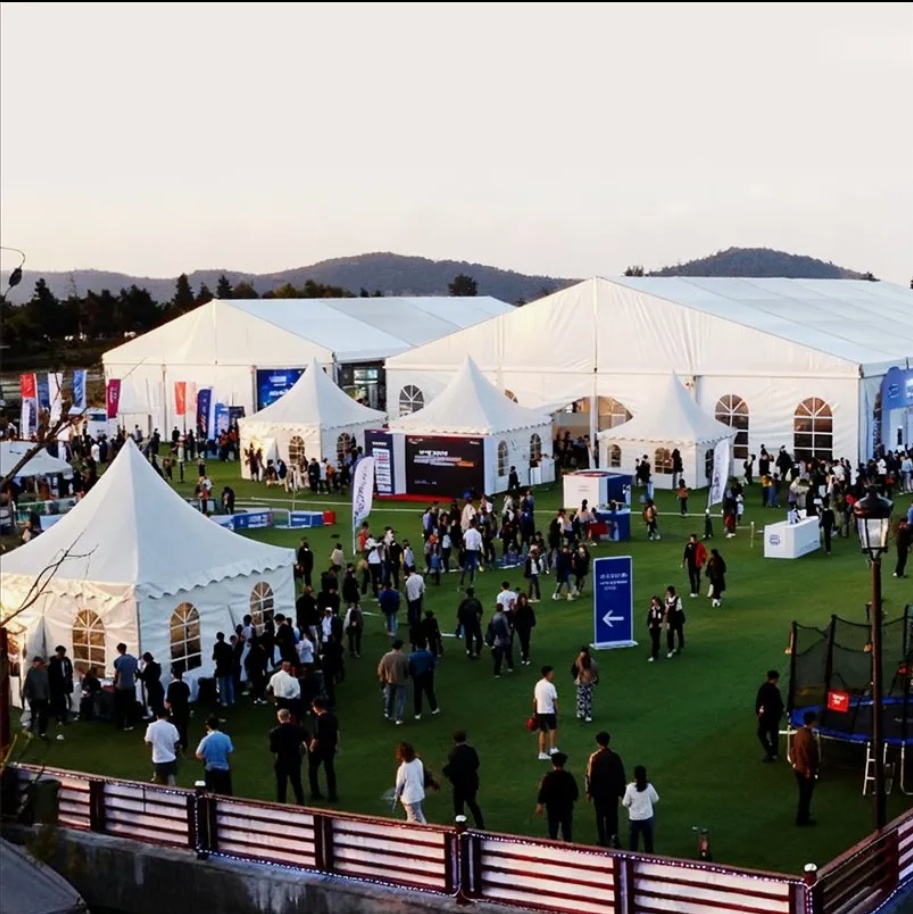
1) Scenic Spot Entrance: The Arrival Marker
At entrances, you’re solving two problems at once:
- Shelter for check-in or ticket scan
- A clear “here’s where you go” visual cue
2) Reception / Check-In Overflow: The Pause Pocket
Reception zones need a place for short waits, luggage handling, and orientation (maps, wristbands, welcome drinks). A reception canopy tent with a high peak creates vertical space that makes a small waiting group feel less cramped.
3) High-End Market / Vendor Village: The Boutique Grid
Premium markets fail when they look like a flea market. The simplest fix is a consistent module grid:
- One pagoda per vendor
- Standardized frontage and signage zone
- Shared back-of-house lane for storage and staff movement
A Practical Buyer Guide: How to Spec a Pagoda Tent for a Luxury Resort
Below is a vendor-comparison framework you can use in an RFQ.
Step 1: Define Your Use-Case and Non-Negotiables
Answer these before you compare models:
- Is this a guest-facing focal point (entrance/reception) or a support zone?
- Do you want open-air (often reads most premium) or enclosed (for climate control and sound)?
- Will it stay up for days, a season, or longer?
Step 2: Compare Vendors on the Same 7 Criteria
| Criteria | What to Ask | What “Good” Looks Like for Resorts |
|---|---|---|
| Module size & layout | What sizes are standard, and how do units connect? | Repeatable square modules; clean connections and drainage between units |
| Height & guest comfort | Eave and peak height options? | Enough headroom for lighting/signage and an airy feel |
| Frame material & finish | What alloy/grade and surface treatment? | Corrosion-resistant aluminum; clean fit-and-finish |
| Roof + fabric spec | Fabric weight, waterproofing, UV, flame rating? | Documented fabric spec appropriate for public guest areas |
| Drainage plan | Where does water go — especially when units connect? | No dripping onto guest paths; gutter/downspout plan when needed |
| Walls/doors strategy | What wall options exist and how do they look up close? | Intentionally open or premium enclosure options |
| Anchoring & safety | What anchoring is specified for our site and wind criteria? | Site-specific plan, clear assumptions, engineering support |
Step 3: Use Real, Citable Specs When You Compare Options
JM TENT publishes a clear baseline spec set across its pagoda listings, including:
- 6061-T6 aluminum alloy frame
- Roof fabric at 850g/m² with sidewalls at 650g/m²
- Standard module sizes: 3×3m, 4×4m, 5×5m, 6×6m, 10×10m (customizable)
- Wind loading up to 80–100 km/h
⚠️ Warning: Wind and load performance depends on anchoring, soil/ground conditions, site exposure, and local code requirements. Treat published wind figures as a starting point — not a permit guarantee. For long-duration installs, request engineering drawings aligned to your jurisdiction.
Day-1 Luxury vs Day-100 Luxury: Operational Details to Ask About
A resort entrance canopy lives a harder life than an event tent. Ask vendors about:
- Cleaning plan: How the roof and walls are maintained without visible staining
- Replacement cycle: Lead time for fabric components
- Corrosion resistance: For coastal properties
- Lighting: How it’s mounted and protected
- Signage: Whether attachment points are designed in (instead of improvised)
When a Pagoda Tent Is the Wrong Tool (and What to Do Instead)
Pagoda modules are design punctuation. They’re not always the right solution.
Consider stepping up to a larger-span structure when:
- You need large coverage for banquets
- The site has extreme wind/snow demands
- You’re enclosing the space and conditioning it like a building
In those cases, treat the pagoda as the “front-of-house jewel” and pair it with a larger structure behind it for dining or back-of-house support.
Next Steps: Request Quotes Without Apples-to-Oranges Bids
To get comparable bids, ask every vendor to respond with:
- Your chosen module size(s) and the matching frame profile recommendation
- Eave and peak heights
- Fabric weights and flame-retardant standard documentation
- Wall configuration (open vs. enclosed)
- Connection plan (if multiple units) and drainage approach
- Anchoring method + assumed wind criteria
- Installation timeline and crew requirements
If you want a baseline catalog to start from, JM TENT lists multiple configurations under its Pagoda Tent category.
If you share your entrance/reception footprint and typical peak-season flow (cars/hour or guests/hour), I can turn the “pagoda tent formula” into a simple module layout concept plus an RFQ checklist you can paste into vendor emails.
