
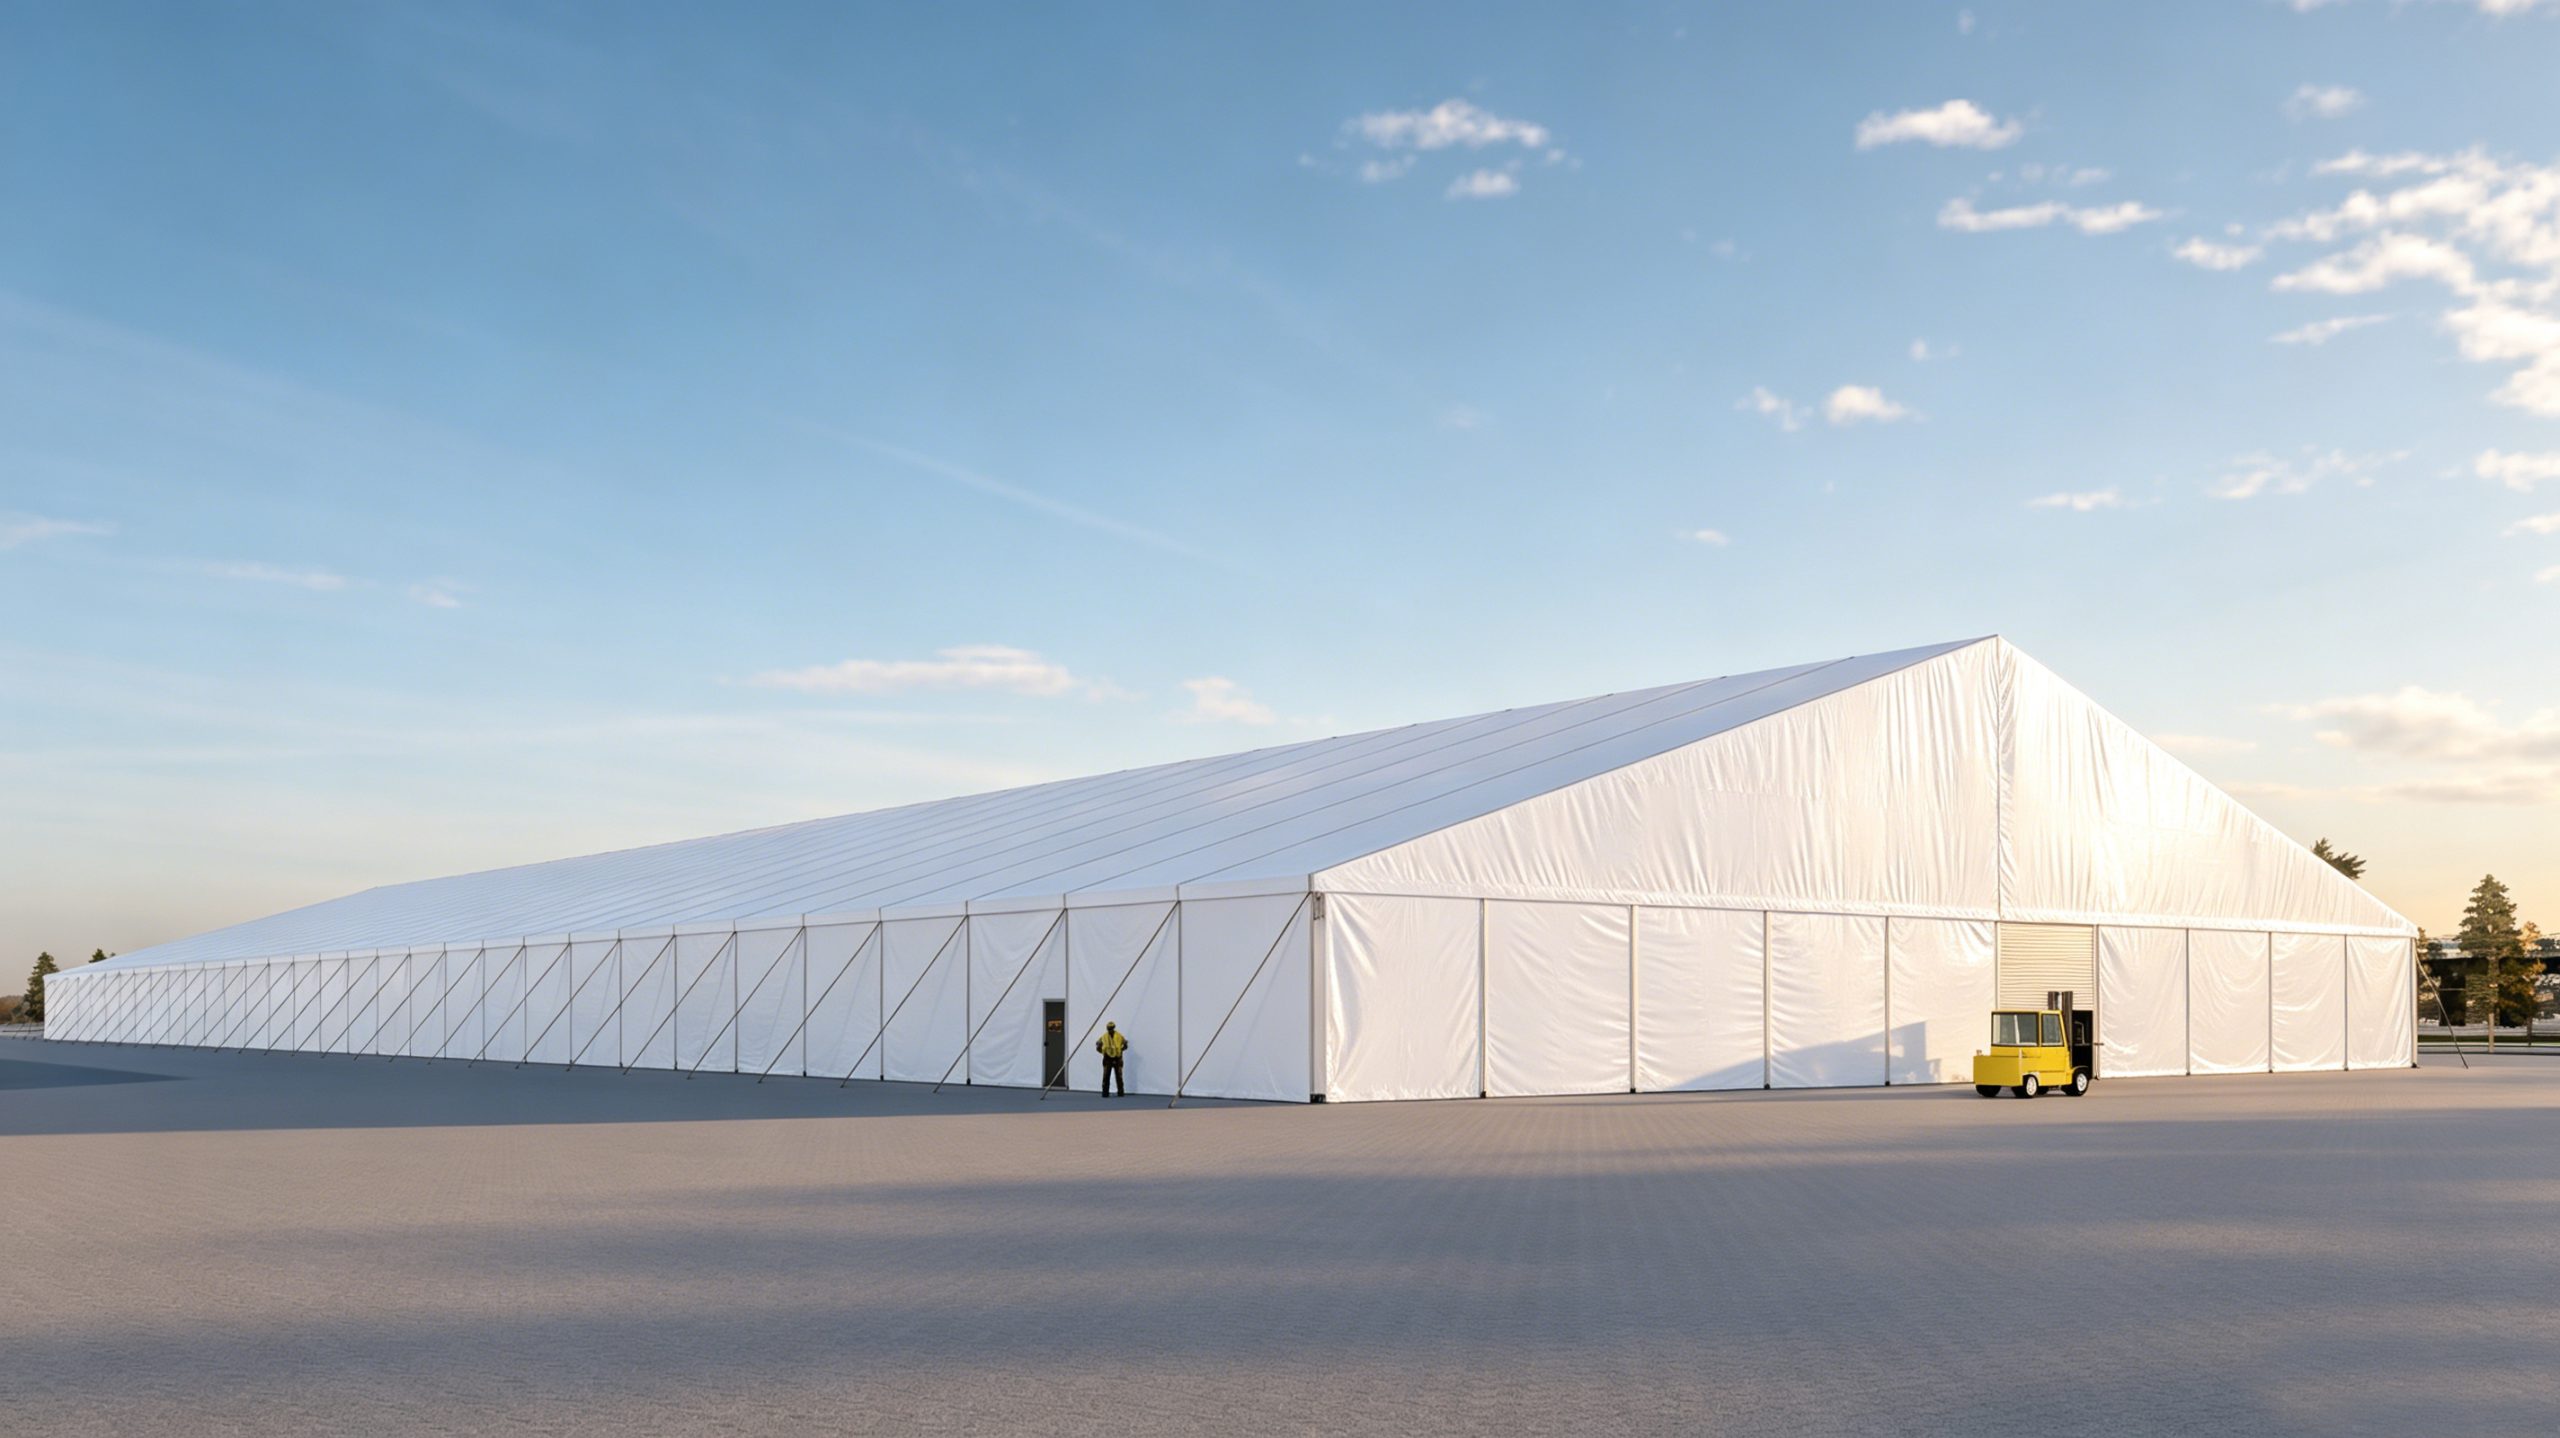

Peak season doesn’t wait for construction timelines.
When inbound containers pile up, outbound orders spike, and every square foot of racking is full, the question isn’t whether you need more covered space — it’s how fast you can add it without creating a safety, permitting, or inspection problem.
A clear span warehouse tent (also called a temporary warehouse structure or modular storage tent) is built for that moment: an unobstructed interior with no center columns, a footprint you can right-size now, and a modular system you can extend later.
But there’s a hard truth most vendors won’t say clearly:
⚠️ Warning: “Deploy in 72 hours” is realistic only when you define it as a controlled on-site erection window — and you’ve already handled the prep work (site readiness, anchoring plan, and permitting/engineering documentation).
This guide gives you a practical, inspection-aware playbook for deploying a 50-meter clear-span aluminum storage tent on a compressed timeline — built around modular, prefabricated assembly logic.
What “72 Hours” Actually Means (And What It Doesn’t)
For a large industrial storage tent, 72 hours is best treated as the on-site assembly sprint — not the entire project timeline.
72 hours typically excludes:
- Engineering review / stamped drawings (where required)
- Permit review and scheduling inspections
- Major grading, drainage work, or utility relocation
- Sprinkler/fire protection design for high-piled storage (where applicable)
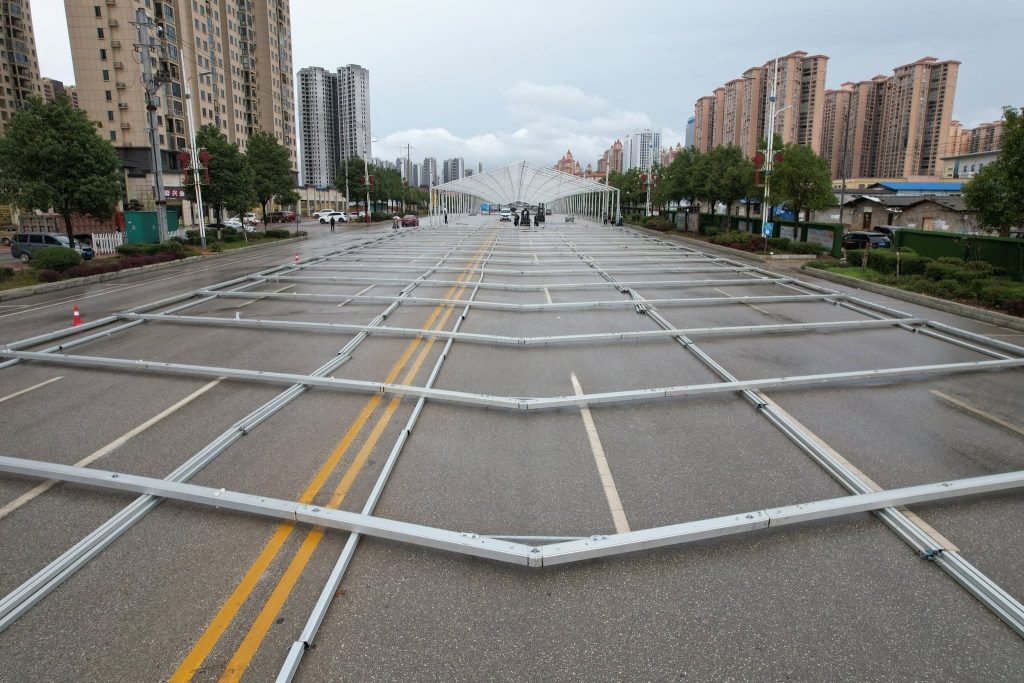
72 hours can include:
- Layout + base plates
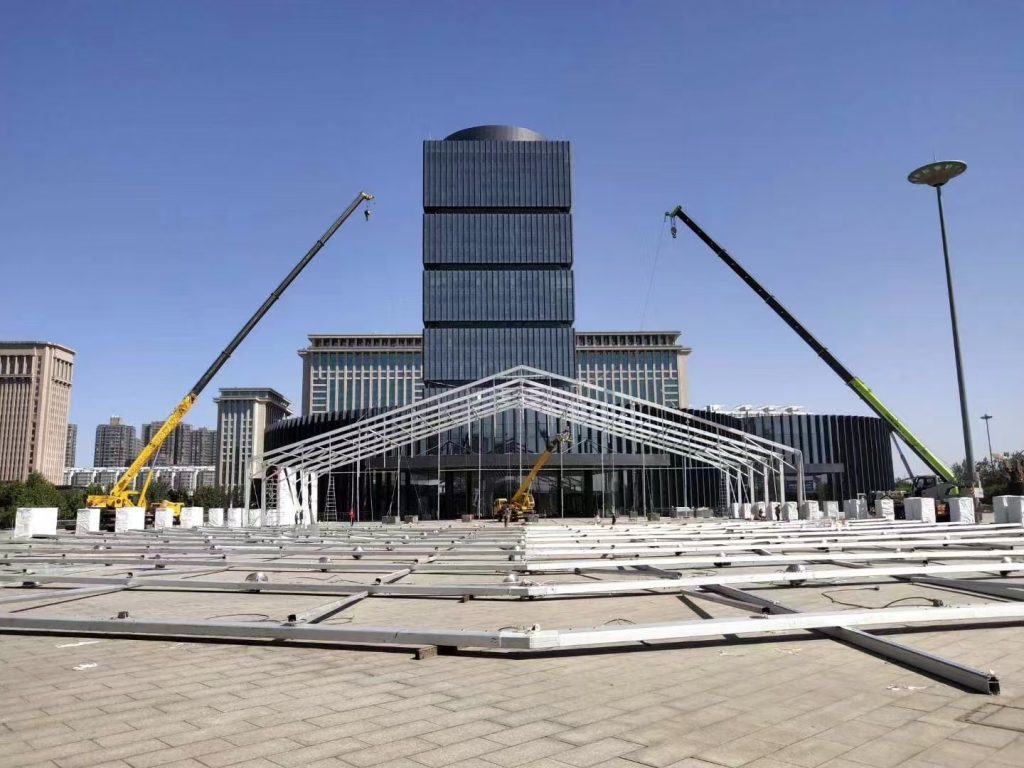
- Frame erection and bracing
- Purlins + roof system
- Fabric installation
- Sidewalls and doors (basic)
- Anchoring/ballast installation and torque/tension checks
The goal is to make the on-site work repeatable — more like assembling a modular system than “building from scratch.”
How to Evaluate a Clear Span Warehouse Tent for Peak-Season Overflow
If you’re choosing between options under time pressure, evaluate the system — not just the square footage.
A Fast-Fit Checklist
- Span and clearance: Confirm the clear span and usable height work for your racking, forklifts, and dock flow.
- Modular expandability: Can you extend length in standard bay increments without re-engineering the whole structure?
- Anchoring compatibility: Is there a verified plan for your surface type?
- Permit/inspection readiness: Can the vendor provide a clean documentation package?
- Operational safety: Will your aisle/egress plan remain compliant once pallets start stacking?
Pro Tip: Before you approve purchase or rental, ask the vendor to define “installed” in writing (frame-only vs. enclosed vs. operational-ready). That single definition prevents most schedule disputes.
Why Modular, Prefabricated Systems Win When Your Dock Is Overflowing
When you’re trying to add capacity in days, speed is mostly a design and logistics problem, not a labor-heroics problem.
A modular clear-span system moves faster because:
- Repeatable bays: Length can be extended in standard increments (often 3m or 5m), so you’re not reinventing structure geometry every time.
- Prefabricated connections: Standardized components and connection points reduce on-site improvisation.
- Container-friendly logistics: Components ship in a predictable way (frames, purlins, fabric, accessories), so staging and sequencing can be planned.
- Parallel workstreams: While the frame team erects arches, another team can stage anchoring/ballast, doors, and interior safety layout.
For peak season, that matters because the real cost isn’t just rent or purchase — it’s lost throughput. A day without covered staging can mean more damage, more labor, and more missed cutoffs.
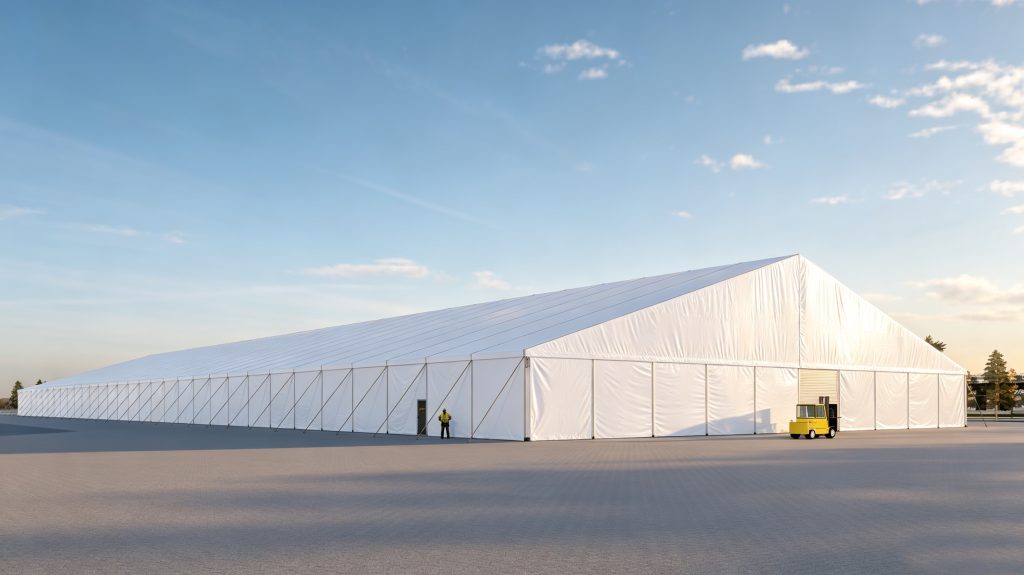
The 72-Hour Deployment Plan (For a 50-Meter Clear-Span Storage Tent)
This plan is structured as a true step-by-step: each step has inputs → actions → outputs and a “done when…” check.
Step 0 (Before Day 1): The Pre-Work Checklist That Makes 72 Hours Possible
Inputs:
- Intended use (palletized storage only vs. people working inside)
- Duration (days/weeks vs. months)
- Address + site conditions (surface type, drainage, wind exposure)
- Vendor documents (engineering + fabric certificates)
Actions:
- Confirm the permitting trigger and submittal requirements with your AHJ (Authority Having Jurisdiction). Many jurisdictions use thresholds like permits over 400 sq ft, with common exceptions for open-sided tents up to 700 sq ft (varies by location). Check your local requirements early.
- Build a submittal packet:
- Site plan + fire access
- Floor plan / egress concept (if workers enter)
- Flame-resistance certificates
- Anchoring/ballast plan
- Structural analysis / engineering documents (when required)
- Lock the anchoring approach based on your surface type:
- Concrete slab → expansion bolts
- Non-drill surfaces → engineered ballast
- Soil/grass/sand → anchors (but only if engineered for your loads)
- Verify site readiness:
- Level tolerance agreed with installer
- Drainage plan (water shouldn’t pool at perimeter)
- Access routes for forklift/crane and delivery trucks
- Exclusion zone for lifts and working at height
Outputs:
- Approved or in-progress permit path (or explicit AHJ go-ahead)
- “Ready-to-erect” site
- Staged materials + equipment schedule
Done when… you can answer: “Can we legally erect and operate this structure on this date?”
Step 1 (Hours 0–6): Layout, Set-Out, and Staging
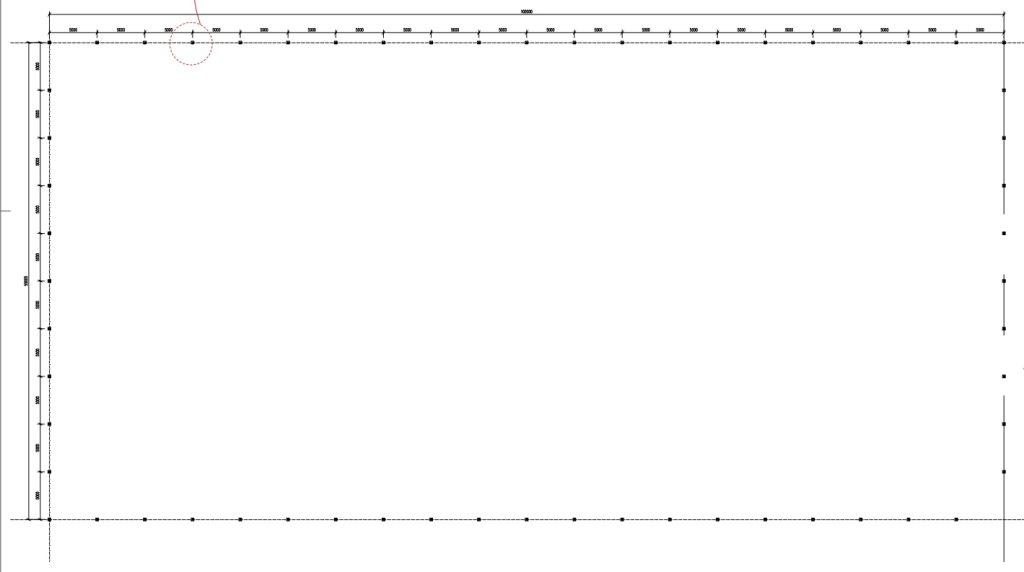
Inputs:
- Approved footprint + aisle plan
- Delivered components (frames, purlins, fabric, hardware)
- Equipment on site (forklift/crane as needed)
Actions:
- Mark the footprint and verify diagonals (square layout matters for fabric fit)
- Stage components in install order (don’t bury critical hardware)
- Set safety perimeter and lifting plan
Outputs:
- Verified layout lines
- Staged components by sequence
Done when… base plate positions are confirmed and the crew can start fixing.
Step 2 (Hours 6–16): Base Plates + Initial Anchoring Points
Inputs:
- Surface type (concrete/asphalt/compacted gravel/soil)
- Anchoring/ballast plan tied to that surface
Actions:
- Install base plates to line and level
- Begin anchors/ballast placement per engineering plan
Outputs:
- Fixed base points aligned and level
Done when… base plates are secure and ready for uprights.
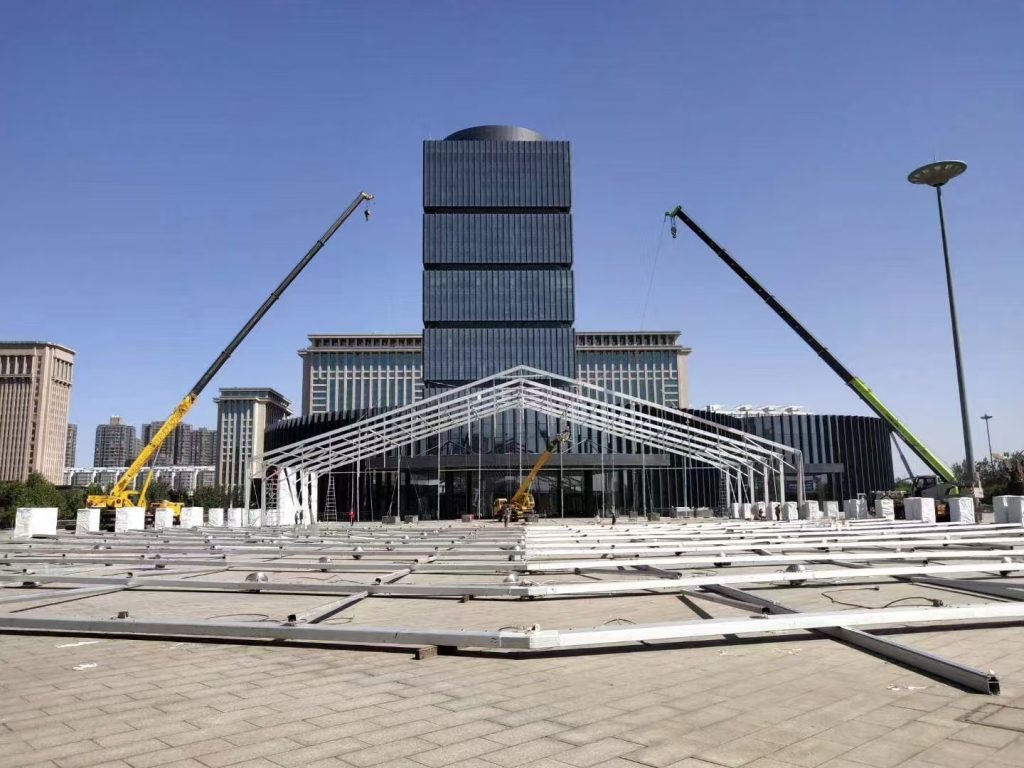
Step 3 (Hours 16–30): First Frames Up (Establish Geometry and Stability)
Inputs:
- Uprights + roof beams/arch components
- Bracing parts
Actions:
- Assemble the first frame bays carefully (they control everything downstream)
- Install bracing as you go
Outputs:
- Initial bays standing, plumbed, and braced
Done when… the structure can accept purlins without drifting out of square.
Step 4 (Hours 30–44): Repeat Bays + Purlins (Speed Phase)
Inputs:
- Standardized bay components
Actions:
- Erect remaining bays using repeatable steps
- Connect longitudinal members/purlins
Outputs:
- Full-length frame erected
Done when… all primary connections are pinned/bolted and braced.
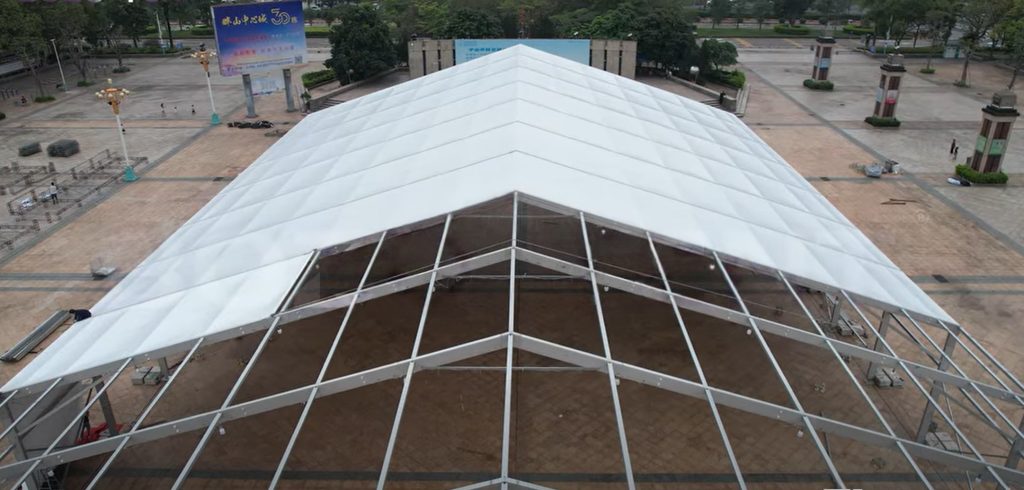
Step 5 (Hours 44–56): Roof System and Fabric Installation
Inputs:
- Roof fabric and fastening system
- Weather window (wind matters)
Actions:
- Install roof system per manual
- Tension fabric evenly to avoid stress points
Outputs:
- Roof sealed and tensioned
Done when… fabric is uniformly tensioned and fasteners are locked.
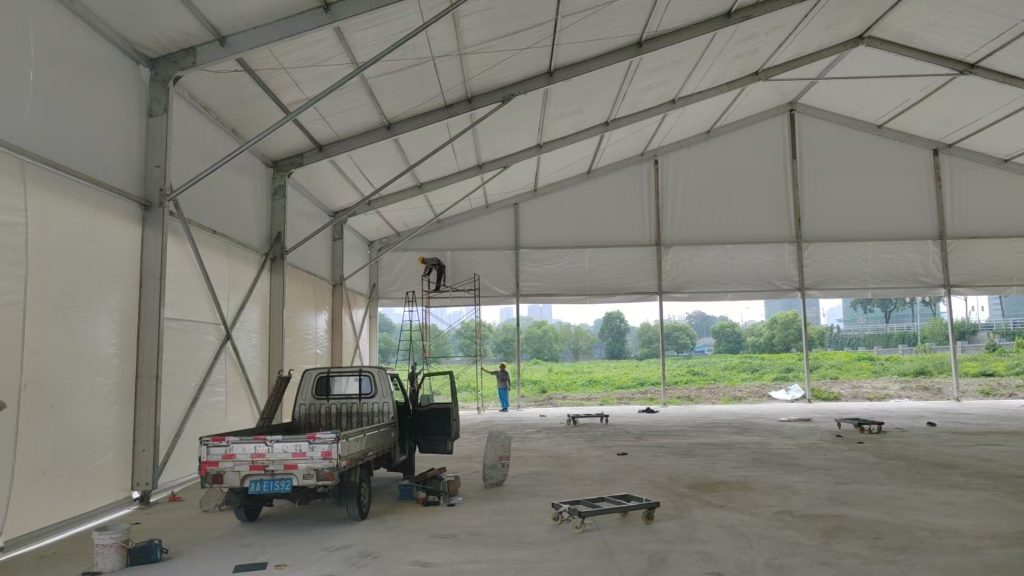
Step 6 (Hours 56–64): Sidewalls, Doors, and Basic Weatherproofing
Inputs:
- Sidewall panels
- Door configuration (roller shutter, sliding, personnel doors)
Actions:
- Install sidewalls and doors
- Seal interfaces and verify door operation
Outputs:
- Enclosed usable volume
Done when… doors operate cleanly and wall interfaces are secured.
Step 7 (Hours 64–70): Anchoring Verification + Documentation Handoff
Inputs:
- Anchoring/ballast plan
- Torque/tension requirements
Actions:
- Final check anchors/ballast placement and hardware
- Record installation checks and photos for the AHJ/inspector
Outputs:
- Verified anchoring
- Inspection-ready documentation package
Done when… the installation lead signs off on anchoring and the packet is complete.
Step 8 (Hours 70–72): Operational Readiness Inside the Tent
Inputs:
- Intended operational layout (racking vs. floor stack)
Actions:
- Mark aisles, exits, and keep-clear zones
- Ensure fire extinguishers and exit markings are in place if required
Outputs:
- Safe, usable storage space
Done when… forklifts can move safely and egress routes remain clear.
Common Failure Points That Blow Up the Schedule
- Permits treated as an afterthought. If the AHJ requires drawings, flame certificates, or an anchoring plan, you can’t “make it up on-site.” Build the packet early.
- Anchoring method not matched to the surface. Concrete, asphalt, soil, and non-drill surfaces are different engineering problems. Decide early.
- Site access not planned for lifts and deliveries. A perfect modular kit still stalls if trucks can’t turn, unload, or stage safely.
- “Installed” not defined. Frame-only can be fast. Fully enclosed with doors, gutters, interior lighting, insulation, and HVAC is a different scope. Define what “installed” means in writing.
- Wind plan is missing. Temporary structures still live in the real world. Plan wind thresholds and safe response actions.
Buyer Checklist: What to Request From Any Vendor Before You Believe “72 Hours”
Use this as a procurement-ready checklist.
A. Engineering and Loads
- Design load assumptions (wind/snow) tied to your site
- Engineering package / stamped drawings (where required)
- Connection details and hardware specs
B. Anchoring/Ballast Plan
- A surface-specific plan (concrete vs. asphalt vs. soil vs. non-drill surfaces)
- Ballast layout (if applicable) and verification method
C. Fire and Safety Documentation
- Fabric flame-resistance certification (as required by AHJ)
- Egress plan (if workers will enter)
D. Installation Method Statement
- Crew size and roles
- Equipment list (forklift/crane)
- Day-by-day sequence
- Definition of “installed” and acceptance criteria
Next Steps
If you’re evaluating a modular clear-span storage solution for peak season, start by locking three variables: site readiness, anchoring approach, and the permit/engineering document package.
To see configurations and options, you can browse JM TENT’s warehouse tent solutions and request a site-specific spec and documentation package from JM TENT.
